Homemade facials: step by step guide
September 1, 2021 2021-09-01 9:51Homemade facials: step by step guide
As an Amazon associate, Dermatocare earns from valid purchase made by clicking on the affiliate links in this blog.

Homemade facials: step by step guide
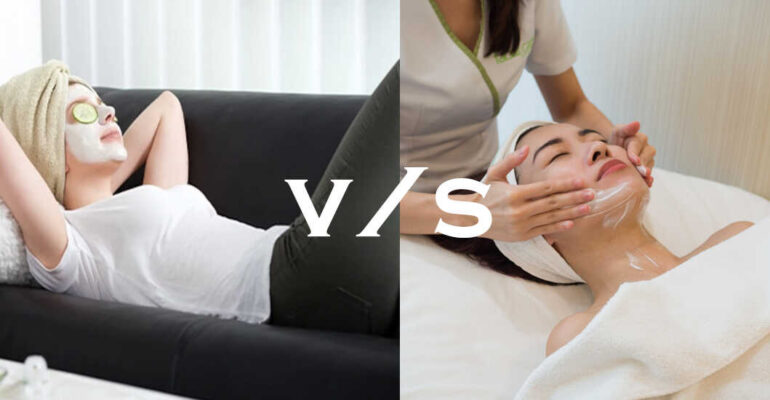
Facials give glow on the face. Sadly the effect doesn’t last for more than a week. Our skin needs consistent ongoing care rather than once a month facial. A beauty salon facial on every weekend is too heavy on the pocket while homemade facial can serve the same purpose and comes in our budget.
Steps of home made facials:
Step 1: Scrubbing
It is an excellent way of removing dead cells, but should be done gently. Overzealous and prolonged scrubbing with a rough/harsh (nutshell based) scrub can be harmful.
Here are steps do scrub at home:
- Use gentle scrubs rather than harsh nutshell based scrubs. Latter can lead to micro-trauma of the skin.
- Begin by washing your hands. Splash lukewarm water generously on your face.
- Then massage the scrub on face gently for 1-2 minutes. Giving more attention to areas around eye, nose and mouth.
- Rinse well and always pat dry (rather than rubbing) your face with a soft towel.
Scrubbing should be avoided when your skin is red, itchy, irritated or flaky, or if you have red pimples.If you are under treatment for your face, always ask your dermatologist whether you can scrub your face or not.
For details read, How to scrub your dead skin?
Step 2: Massage
Massage hydrates the skin, particularly of people with dry skin types, and also increases blood circulation, giving that instant glow.But excessive face massage can loosen your skin, and those who take regular facials may notice sagging of cheeks much earlier (no scientific evidence though).
Massage your skin only of it is dry, Avoid in oily and acne prone skin. Take a small amount of massage cream. Mix with few drop of water. Massage gently until it gets abosbed.
Step 3: Steaming
Steam helps in cleaning the pores of the skin, especially good for oily skin. A quick, gentle steam can be helpful. Avoid prolonged steaming. High temperatures can be damaging for skin. Therefore take steam for a minute or two. Your skin should not get red or feel hot after steaming.
Steamers with extension put essentials are available. You can put a lavender oil or rose hip oil for sooting action. You can remove blackheads gently after steaming.
Step 4: Face pack
This is the step with maximum benefit. Higher concentration of ingredients remains in contact with your skin for a longer time. Temporary firming up of the skin is another desirable effect.
Choosing the right kind of face pack that suits your skin is very important. For example, people with oily skin should use a mud based face pack while milk based hydrating face pack can replenish lost oils in the dry skin.
Apply a thick layer of face pack and leave it until it’s dry. For removing, splash water to loosen your face pack. Wipe off gently without pulling or stretching your skin. Dry your face with a soft towel. Put moisturiser only, if you feel a stretch or tightness in your skin.
For details, read How to make the natural face mask?
How often can I do homemade facials at home?
You should do this homemade facials twice a month. You scrub and put face pack twice a week.
Who should avoid homemade facials?
Avoid if you have acne, pimples, blackheads or sensitive skin.
ROUTINE FINDER
Get free dermatologist-recommended regime by choosing your skin or concerns.

FACE

HAIRS

CHILD

BODY
